Update 4/25/2009: I’ve removed the -gl suffix from all my cmdlets – any examples using the -gl in the cmdlet name should be updated.
If you’ve been following my blog you’ll remember that I recently pushed out a “beta” build of some SharePoint PowerShell Cmdlets for some initial feedback and reviews. We’ll I’ve gone ahead and incorporated the feedback that I received and I am now officially releasing the first version of my cmdlets. The number of cmdlets has not changed from the beta build – they’ve just been cleaned up and enhanced. I will slowly start documenting each of the existing cmdlets (there are currently 11) and hopefully be adding new ones over time.
I’ve added links to the top of my blog for quick download of either the source code or the MOSS or WSS builds of the setup packages. At present there are no differences between the MOSS and WSS builds with the exception of my STSADM extensions which are included in the package and are a required dependency.
To install the cmdlets download the MOSS or WSS installer from the links at the top of this page (or in the right-hand column). Once downloaded run the installer from your MOSS server using your MOSS admin account. You will see the following screens:
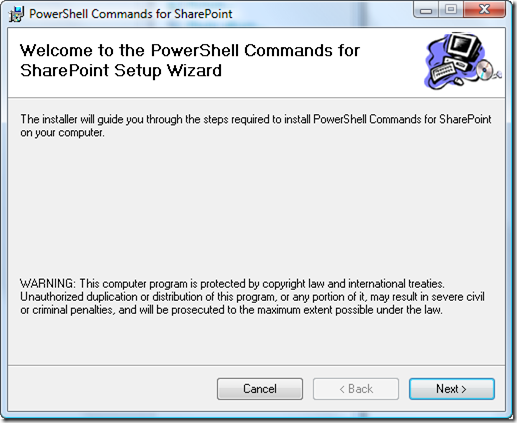
- The initial welcome screen:
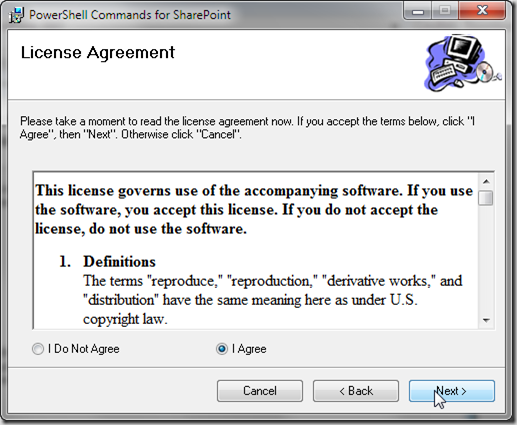
- The EULA screen – you must accept to continue (you can find a copy for future reference in the install directory):
- The install location – by default the files will be put at “C:\Program Files\Gary Lapointe\PowerShell Commands for SharePoint":

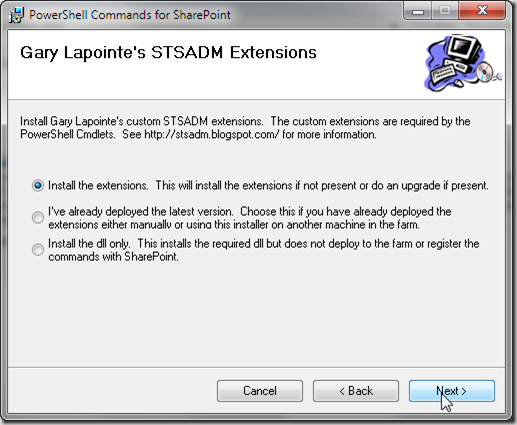
- Optionally install my custom STSADM extensions – the extensions are a required pre-requisite but I make their install conditional so that if you have already installed the extensions you can avoid having to re-install them. This is particularly beneficial if you are installing the cmdlets on more than one machine in the farm – you only have to install the extensions in the farm once as they will be pushed out to all of the servers by SharePoint:
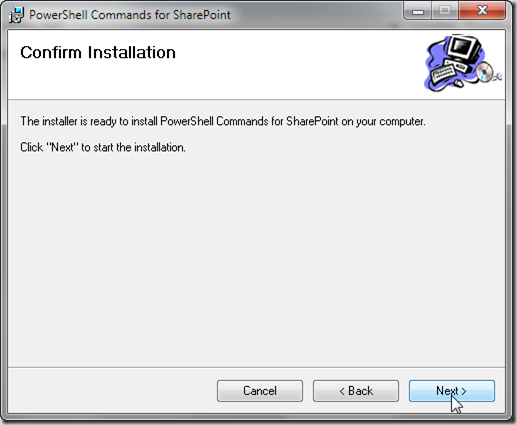
- Confirm that you are ready to install:
- The files are then installed
Once the installation has completed you will be presented with the contents of the ReadMe.rtf file (which can be found in the install directory). I’ve included the contents of that file below for reference:
To automatically load the snapin every time you start PowerShell create a shortcut to PowerShell passing in the
-psconsolefileparameter like so:
%SystemRoot%\system32\WindowsPowerShell\v1.0\Powershell.exe –psconsolefile "C:\Program Files\Gary Lapointe\PowerShell Commands for SharePoint\Console.psc1"The contents of the Console.psc1 file can be seen below.
1<?xml version="1.0" encoding="utf-8"?>
2<PSConsoleFile ConsoleSchemaVersion="1.0">
3 <PSVersion>1.0</PSVersion>
4 <PSSnapIns>
5 <PSSnapIn Name="Lapointe.SharePoint.PowerShell.Commands" />
6 </PSSnapIns>
7</PSConsoleFile>
Or run the following command or add the following command to your profile script:
add-pssnapin -name "Lapointe.SharePoint.PowerShell.Commands"To see the help file for any of the commands type the following (where
-detailedand-fullare optional):
help <command name> [<-detailed | -full>]For example, the following command will return the full help for the
get-spsitecommand:
help get-spsite -full
Here’s a quick demonstration showing some of the power of one of these cmdlets, the Get-SPSite cmdlet:
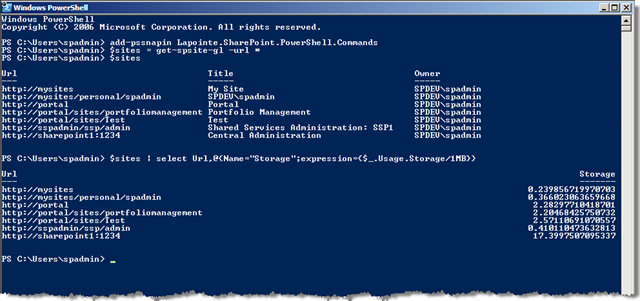
Looking at the example above you can see I was able to quickly get a list of all Site Collections using $sites = get-spsite –url *. I then output the results to the display to see what got returned. To get some different columns I then passed in the $sites variable to the Select-Object (select) cmdlet and had it return back the Url and Usage.Storage properties so that I can see the size of all the size collections in the farm. I could take this further and do some filtering if necessary but I’ll leave that exercise to you.
Keep an eye on my blog for more online documentation about each of the cm
dlets along with lots of useful examples (hopefully :)).